Starting a small herb garden indoors is a rewarding way to add fresh flavors to your cooking and greenery to your living space. Whether you have a sunny windowsill or a small corner in your kitchen, growing herbs indoors is surprisingly easy and requires minimal space.
In this guide, we’ll walk you through everything you need to know to successfully start and maintain your own indoor herb garden.
Why Grow Herbs Indoors?
Growing herbs indoors allows you to have fresh, organic ingredients at your fingertips all year round. It’s perfect for people with limited outdoor space or those living in areas with harsh climates. Additionally, indoor herb gardens can brighten up your home and improve air quality.
Choosing the Right Herbs for Indoors
Some herbs are better suited for indoor growing than others because they adapt well to limited sunlight and container life. Here are some popular and easy-to-grow herbs for indoor gardens:
– Basil: Loves sunlight and warmth, great for cooking.
– Mint: Very hardy, but can spread quickly, so pot it separately.
– Parsley: Needs moderate sunlight and regular watering.
– Chives: Prefers a sunny spot, adds a mild onion flavor.
– Thyme: Requires less water, thrives in bright light.
– Cilantro: Grows fast but prefers cooler indoor temperatures.
– Oregano: Needs at least 6 hours of light, drought tolerant.
Choosing herbs that you frequently use will encourage you to maintain the garden.
What You Need to Get Started
Before planting, gather these essential supplies:
– Containers: Small pots with drainage holes. You can repurpose containers but ensure proper drainage.
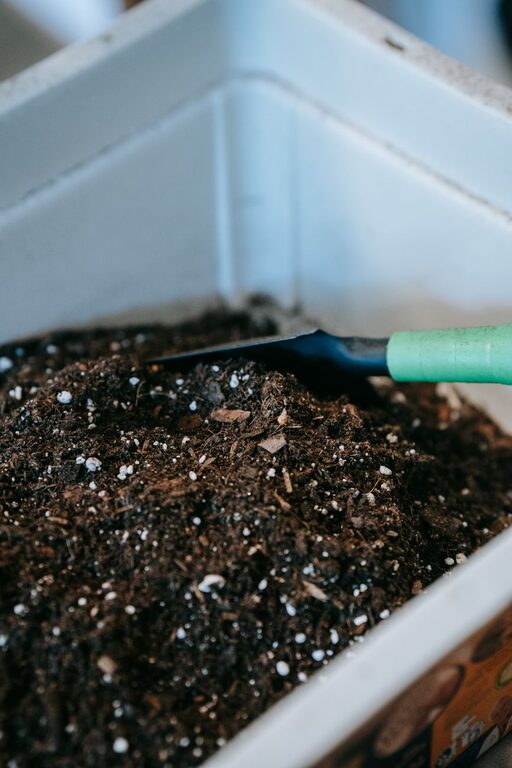
– Potting Mix: Use a light, well-draining potting soil mixed with some perlite or sand for aeration.
– Seeds or Starter Plants: Seeds are more economical, but starter plants give a head start.
– Watering Can: For controlled watering.
– Labels: To keep track of different herbs.
– Fertilizer: A balanced, water-soluble fertilizer for indoor plants.
Step-by-Step Guide to Planting Your Herb Garden
1. Pick the Location
Most herbs need 6-8 hours of sunlight daily. A south-facing window is ideal. If natural light is limited, consider using grow lights designed for indoor plants.
2. Prepare the Containers
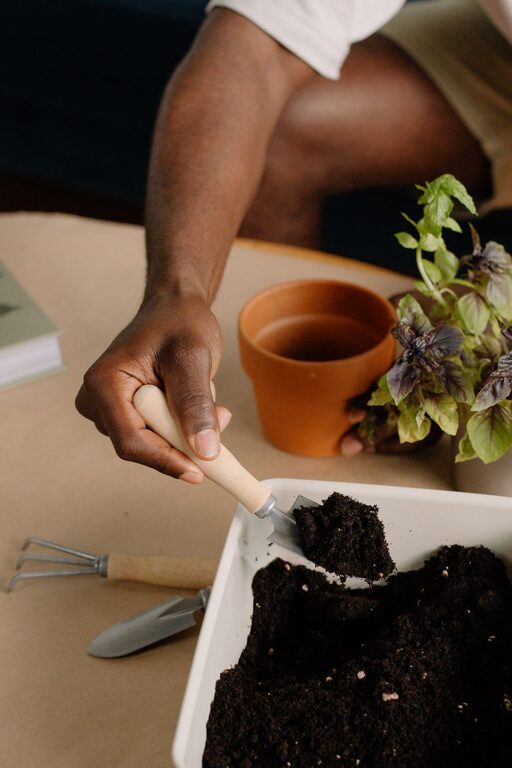
Fill your pots with potting mix, leaving about an inch at the top. Make sure pots have drainage holes to prevent waterlogging.
3. Plant the Seeds or Transplants
– For seeds, plant at the depth recommended on the packet, usually about twice the seed’s size.
– For starter plants, gently loosen roots before planting to encourage growth.
Water the soil lightly after planting.
4. Watering
Herbs prefer consistently moist soil but not soggy. Check the soil by sticking your finger about an inch deep; water when dry. Overwatering can cause root rot.
5. Fertilizing
Feed your herbs with a diluted, balanced liquid fertilizer every 4-6 weeks during the growing season.
6. Pruning and Harvesting
Regularly pinch off growing tips to encourage bushier plants. Harvest herbs by snipping leaves or stems in the morning when oils are most concentrated. Avoid taking more than one-third of the plant at a time to keep it healthy.
Tips for Success
– Rotate pots weekly to ensure even light exposure.
– Use a humidity tray or mist herbs occasionally if your home is very dry.
– Watch for pests like aphids or spider mites; wipe leaves if needed.
– Keep herbs away from drafts or heating vents to avoid stress.
Troubleshooting Common Problems
– Yellowing leaves: Could be overwatering or poor drainage.
– Leggy plants: Not enough light, move to a brighter location.
– Slow growth: Try fertilizing or check for pests.
– Wilting: Water immediately but avoid excess.
Expanding Your Indoor Herb Garden
Once you get comfortable, you can try growing other herbs like rosemary, sage, or lavender. These may require more light and space but add diversity to your garden.
Final Thoughts
Starting an indoor herb garden is a fun and practical project that brings fresh flavors and greenery into your home. With the right plants, containers, and care, you’ll enjoy fresh herbs all year long without leaving the kitchen.
Happy gardening!